assembly
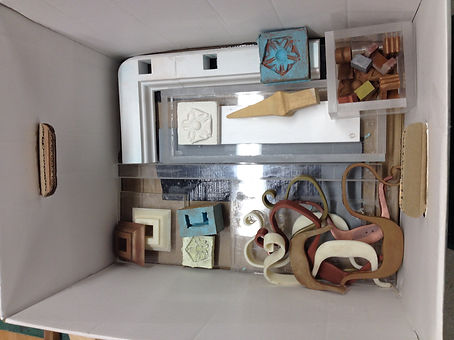
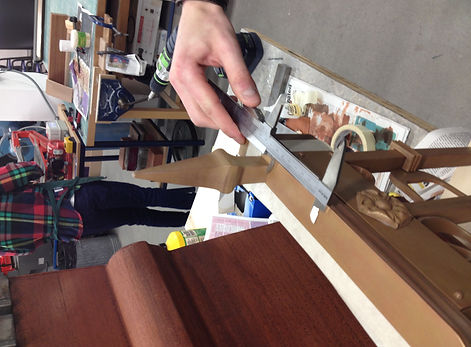
This page documents the assmebly of the wooden pieces into a structured model and the addition of the cast resin pieces.
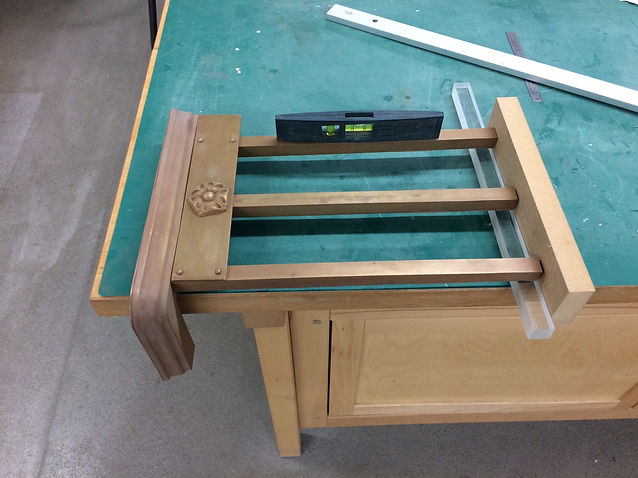
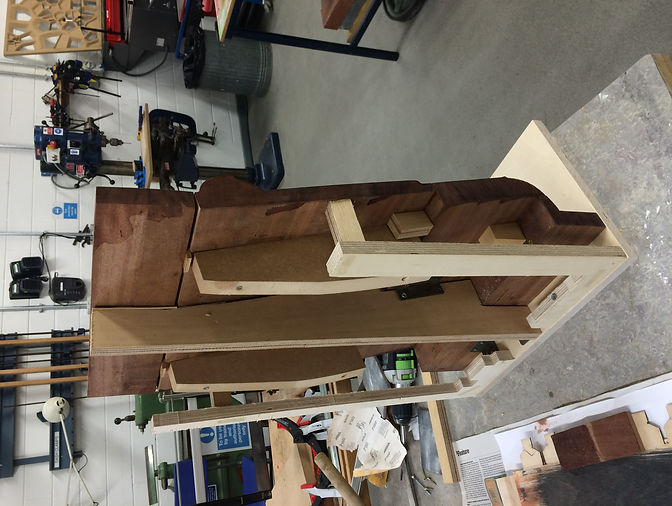
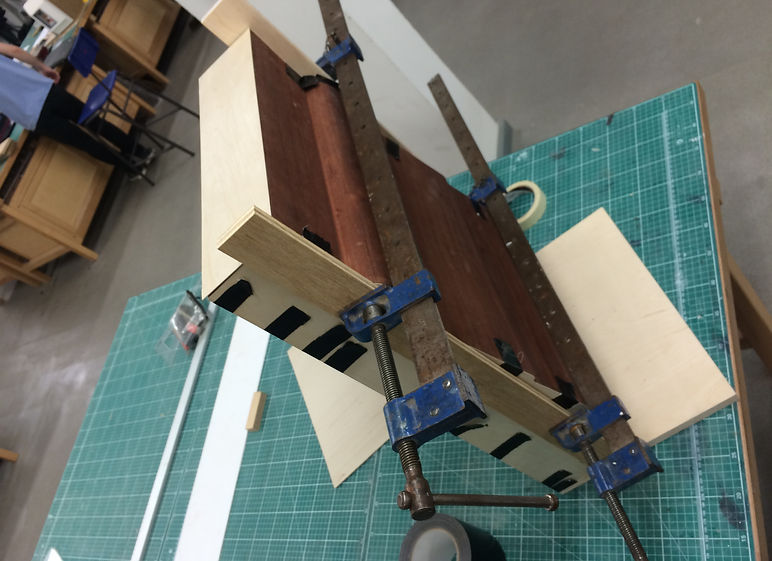
The wood required accurate structure to ensure it was vertical and to ensure the joins were uniform and minimal.
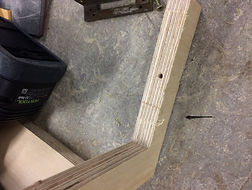


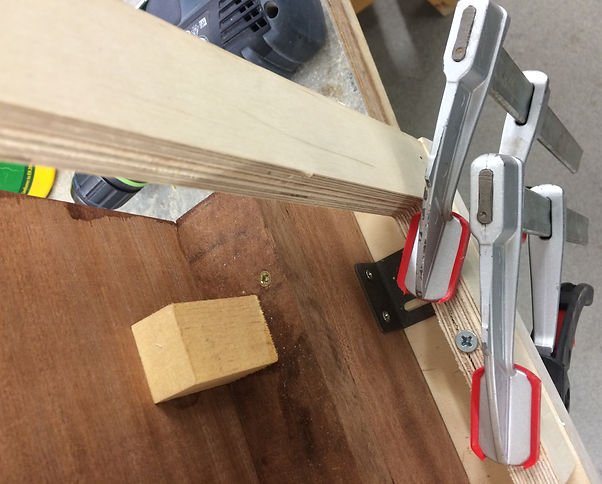
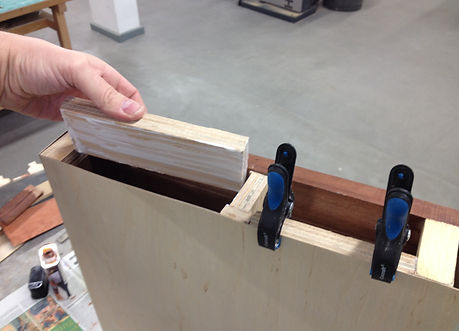
I used off cuts from the wood bin to create the structure. I used small chocks to give additional structure to the joints between the mahogany. I used wood glue and screws to create a strong connection between the structure and base. To ensure a strong adhesion between the wood, clamps were used to provide pressure.
To ensure that the wood was vertical I used spacers to incrementally adjust the angle of the wood.


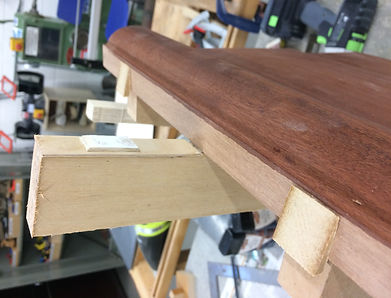

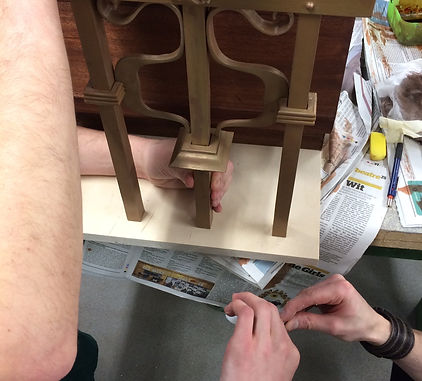
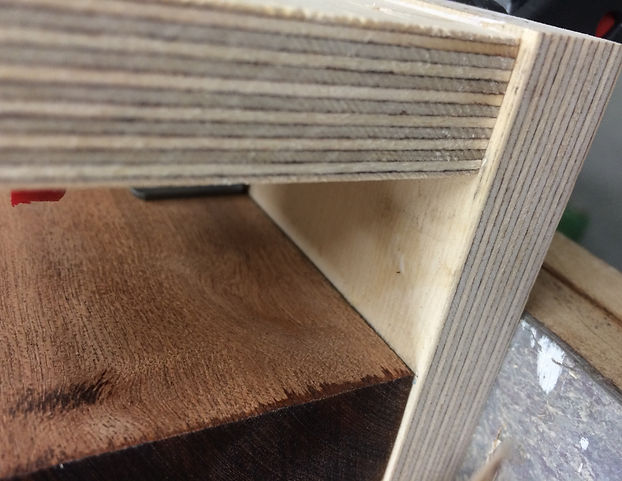
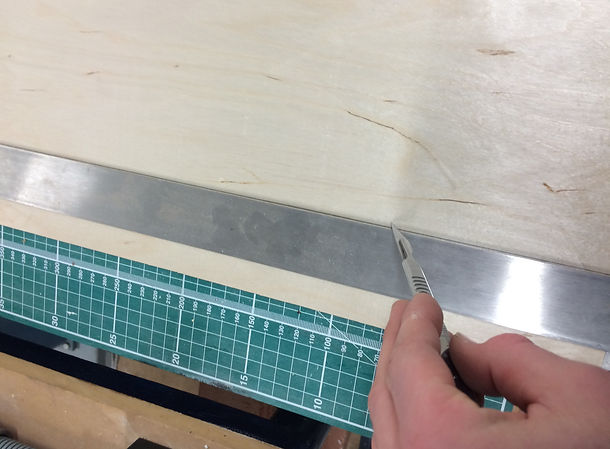
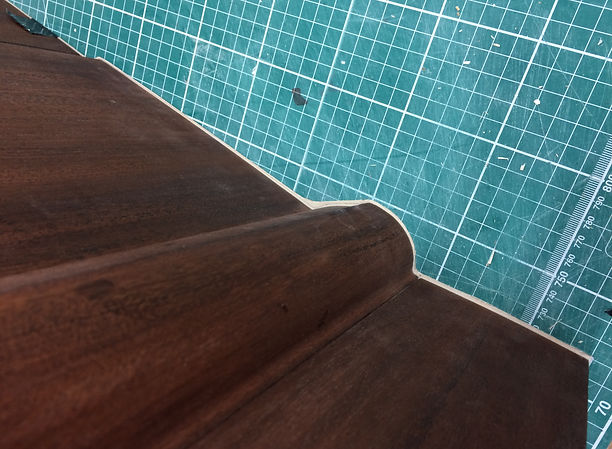
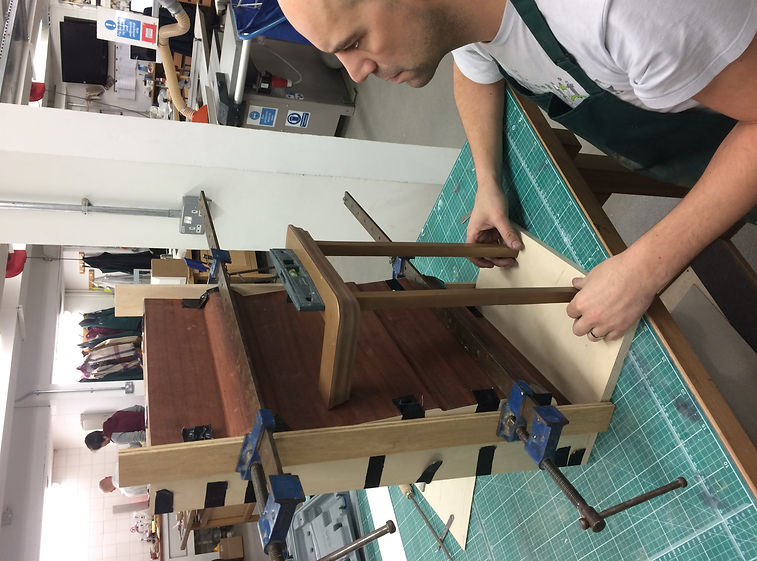
To cut the side elements I tested out techniques to see what would be most suitable and give the cleanest cut. The small jigsaw machine lifted parts of the fragile ply. I found the best technique was to use a sharp scalpel and repeat strokes. I then attached the side pieces and used sand paper to make minute adjustments which created a clean and accurate joint. I used a piece of double sided plastic to protect the stained wood.


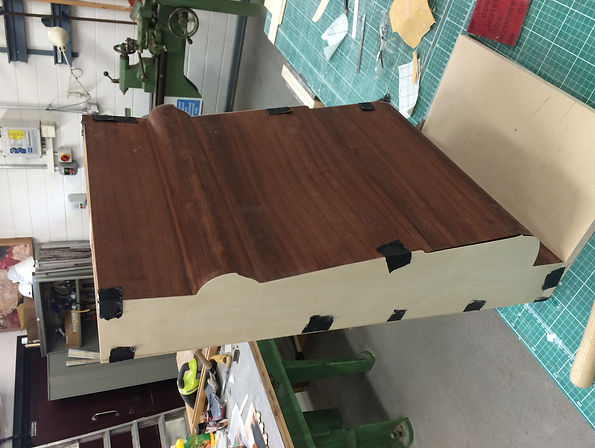

I realised that the maghogany pieces are not precisely square as a result of my sanding to create a tight join. As a result the addition of these small inaccuracies cumulated into a larger inaccuracy at the top. Thus the top piece of the object is not square.
If we were to correct this or learn from this, the best thing to do would be to re sand each element of mahogany on a belt sander with a 90 degree guide.
The ply wood sides are 0.8 in thickness and required considerable structure to maintain a flat appearance. In reflection I would spend more time designing a better structure for the back which fixed the ply more securely at the top but time became a pressure.
When clamping the wood I used two pieces of wood to distribute the pressure of the clamps, this ensures an even adhesion.

To cut the side elements I tested out techniques to see what would be most suitable and give the cleanest cut. The small jigsaw machine lifted parts of the fragile ply. I found the best technique was to use a sharp scalpel and repeat strokes. I then attached the side pieces and used sand paper to make minute adjustments which created a clean and accurate joint. I used a piece of double sided plastic to protect the stained wood.