3d printing
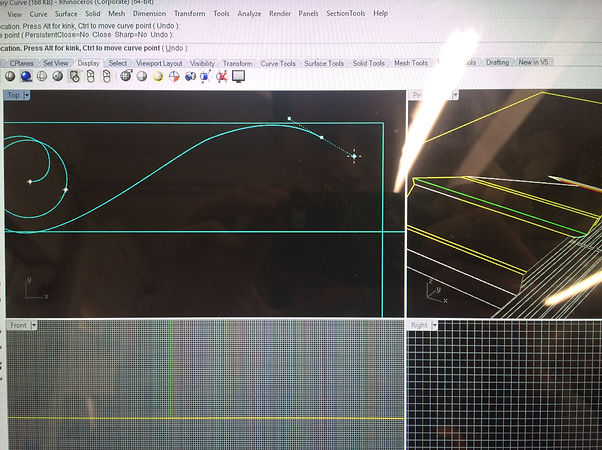
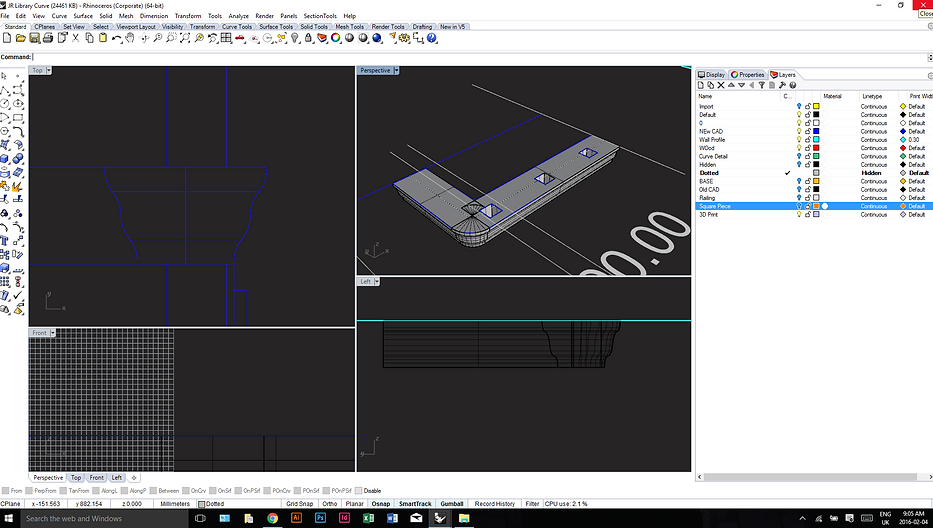
I chose to take on the task of modelling the 3D printed elements because I had not done 3D printing before or used 3D software. The software I used was Rhino and I had to use tutorials to learn how to complete the task.


The detail of the railing has slight curves which I decided would be most easily created post print by sanding the material.

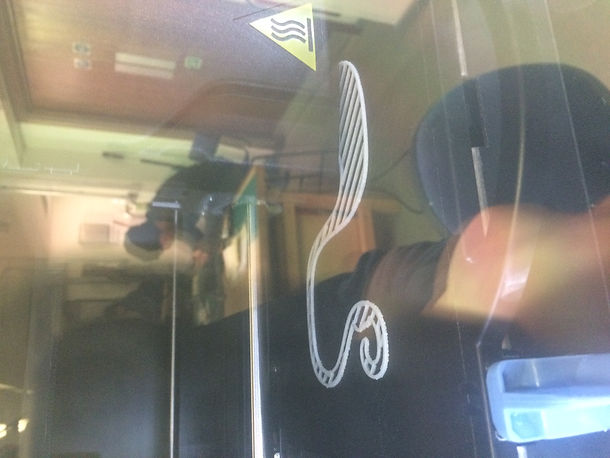
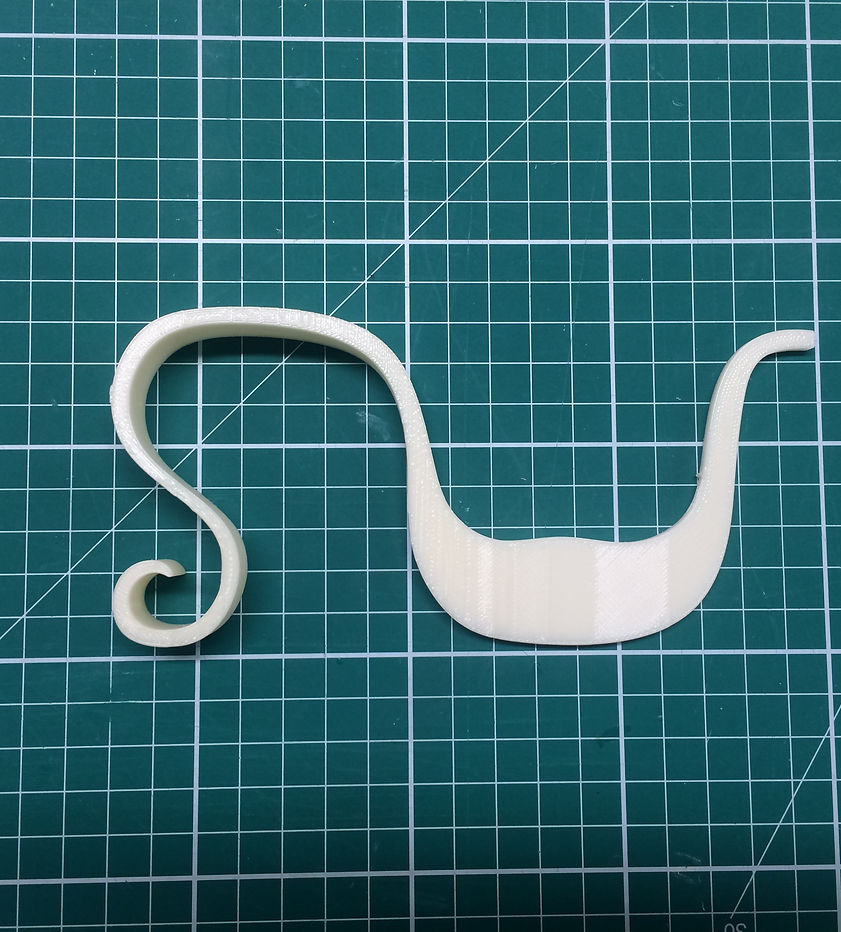
The 3D printer leaves traces of its construction technique. It prints by layering material and as a result the object had subtle grooves. We sanded these down to create a smooth surface similar to the railings.
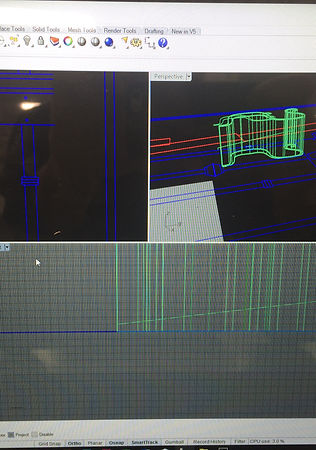
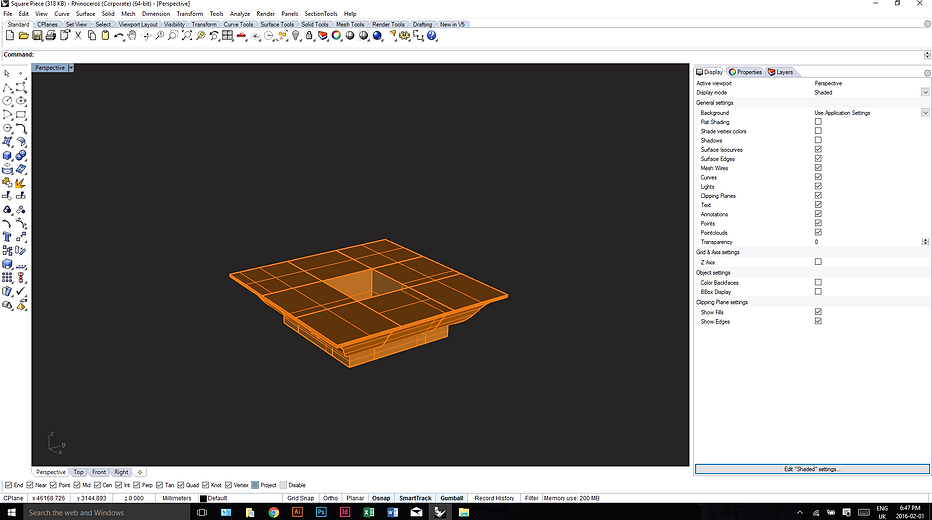
The plan for this element was to create a 3D model of half of it which we could then create multiple casts which could be stuck together. We decided to create the seam along the outer ridge. This also allowed the mould to be removed. It is important to understand the construction technique prior to building so that design decisions such as this can be made.
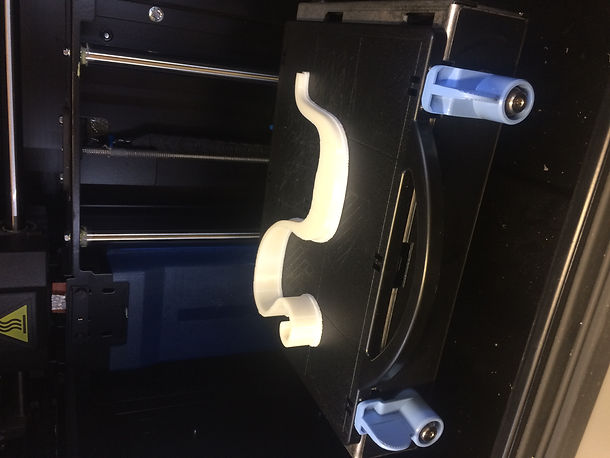
I created this object on Rhino using the CAD drawings and extruded them. I then used the plastic 3D printer, in the same way as the previous curve, to create the object.

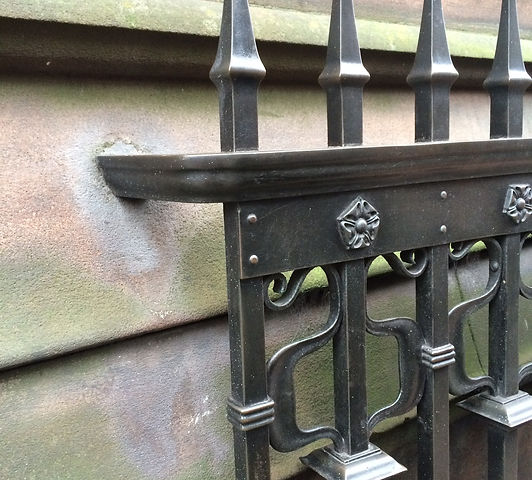
The railing piece was planned to be CNC milled. However, on revision of this process we believed that it would be too small and unnecessarily difficult to achieve. We had a rethink and decided it could be possible to laser cut plates and stick them together, similar to creating topographic contours.
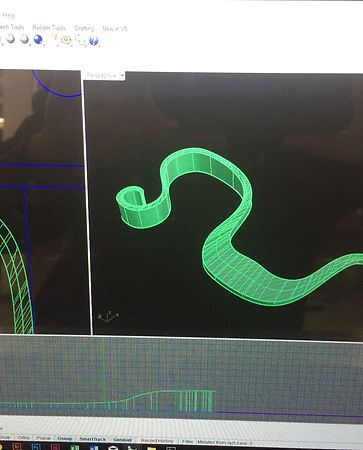
I created the CAD files for this and realised that to achieve a suitable curvature it would require over forty pieces. The other option was to 3D print the object so we pursued that.
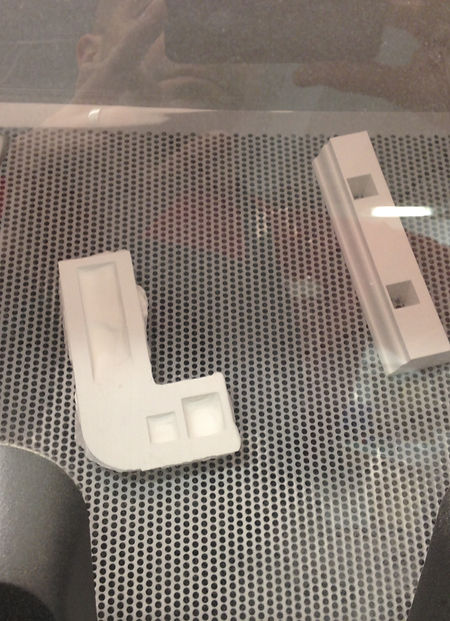
The 3D printer was smaller than the object so I cut the computer file into two pieces. Scott (technology tutor) calculated the cost of 3D printing the two elements in the same way we had done previously and it came to £60.
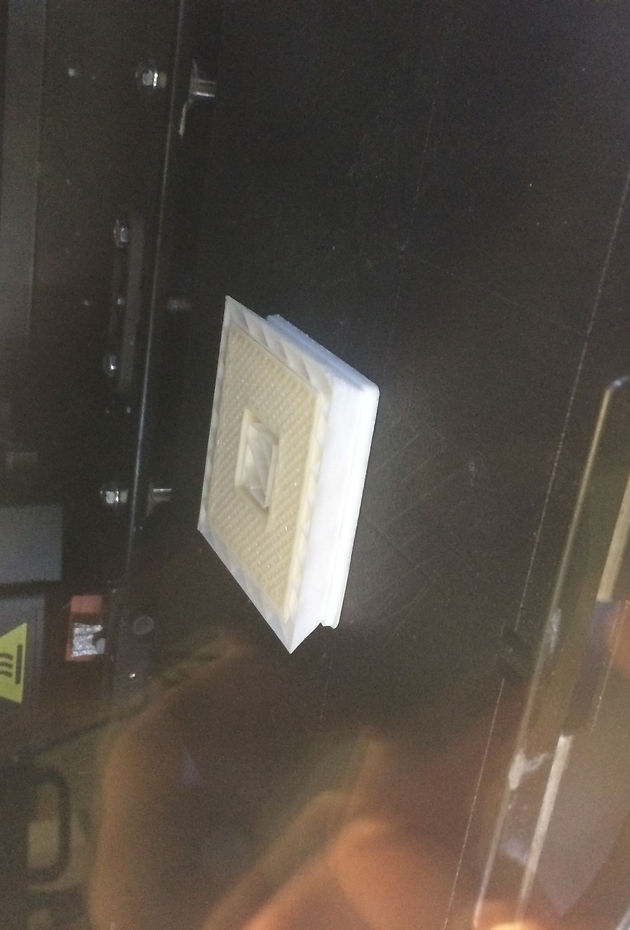
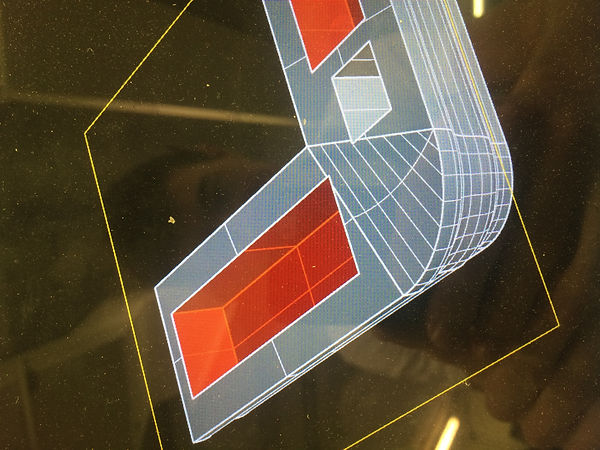
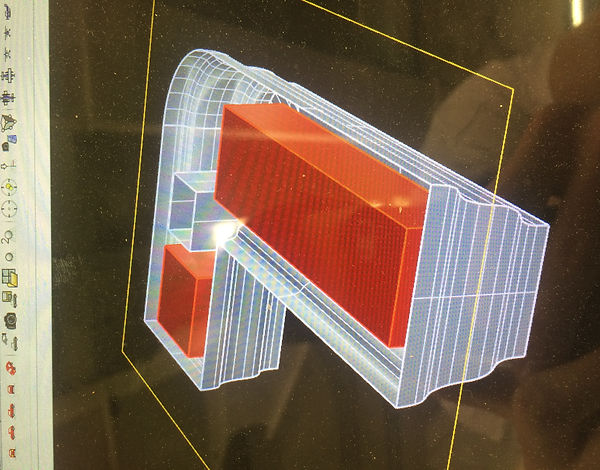
Scott suggested using the powder printer as the material is cheaper. The two pieces were calculated to cost £40. I suggested creating excavations in the model in the sections of the that werent required for the cast. I used Rhino to adjust the model and created excavations which saved £10, bringing the total cost down to £30.


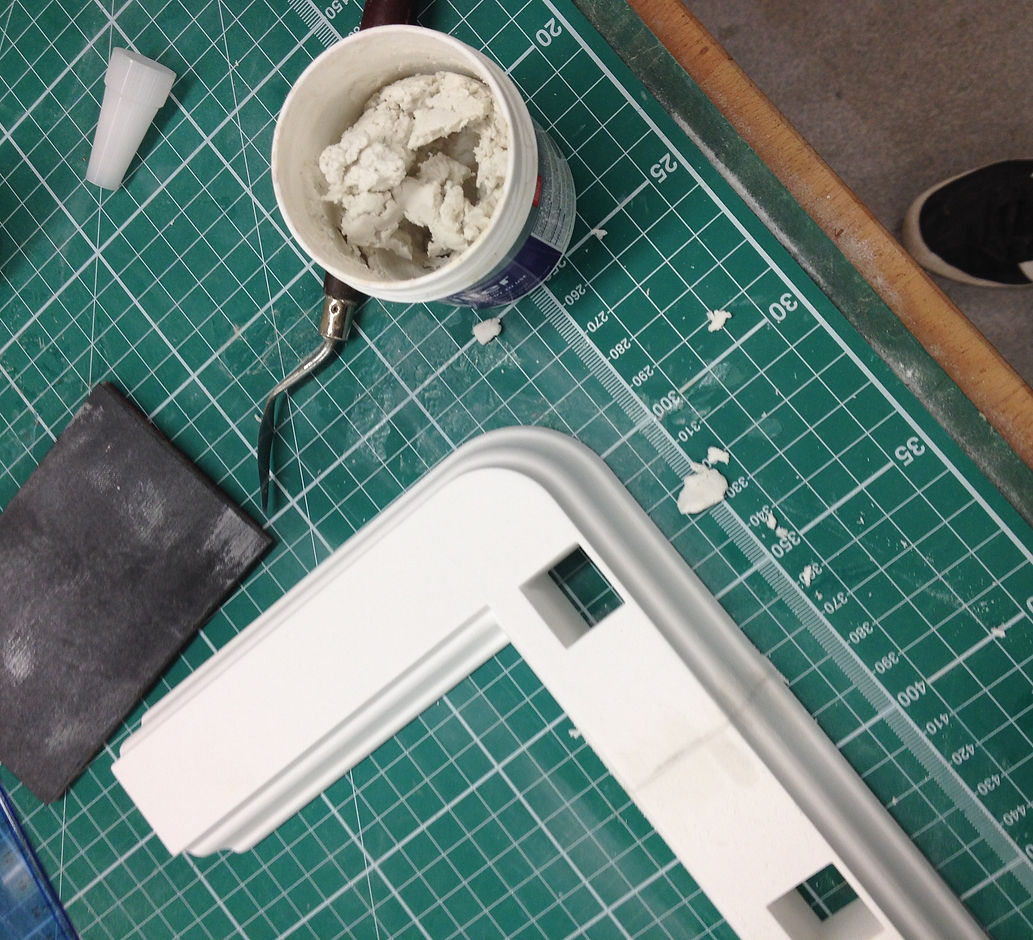
We used wood filler to create a smooth join between the pieces